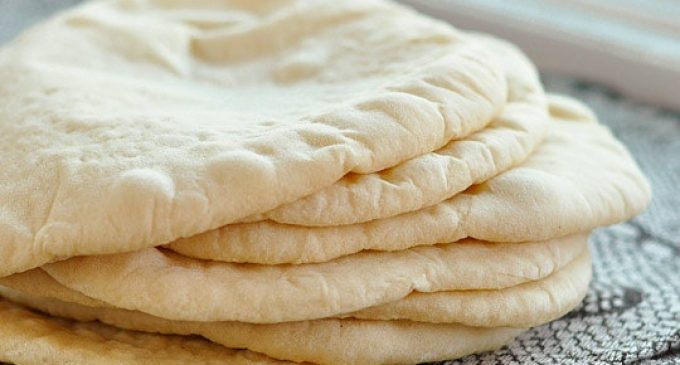
Here's everything you need to make this delicious pita bread. This recipe makes eight round.
Ingredients to Gather
1 cup warm water (not hot or boiling)
2 teaspoons active dry or instant yeast
2 1/2 – 3 cups all-purpose flour
2 teaspoons salt
1-2 teaspoons olive oil (optional)
Directions to Follow
1. Form the Pita Dough: Mix the water and yeast together, and let sit for about five minutes until the yeast is dissolved. Add 2 1/2 cups of the flour (saving the last half cup for kneading), salt, and olive oil (if using). Stir until a shaggy dough is formed.
2. Knead the Dough: Sprinkle a little of the extra flour onto your clean work surface and turn out the dough. Knead the dough for about 5-7 minutes, until the dough is smooth and elastic. Add more flour as needed to keep the dough from sticking to your hands or the work surface, but try to be sparing. It's better to use too little flour than too much. If you get tired, stop and let the dough rest for a few minutes before finishing kneading.
3. Let the Dough Rise: Clean the bowl you used to mix the dough and film it with a little olive oil. Set the dough in the bowl and turn it until it's coated with oil. Cover with a clean dishcloth or plastic wrap and let the dough rise until it's doubled in bulk, 1-2 hours.
At this point, you can refrigerate the pita dough until it is needed. You can also bake one or two pitas at a time, saving the rest of the dough in the fridge. The dough will keep refrigerated for about a week.
4. Divide the Pitas: Gently deflate the dough and turn it out onto a lightly floured work surface. Divide the dough into 8 equal pieces and gently flatten each piece into a thick disk. Sprinkle the pieces with a little more flour and then cover them with a kitchen towel or plastic wrap wrap until you're ready to bake them.
5. Shape the Pitas: Using a floured rolling pin, roll one of the pieces into a circle 8-9 inches wide and about a quarter inch thick. Lift and turn the dough frequently as you roll to make sure the dough isn't sticking to your counter. Sprinkle with a little extra flour if its starting to stick. If the dough starts to spring back, set it aside to rest for a few minutes, then continue rolling. Repeat with the other pieces of dough. (Once you get into a rhythm, you can be cooking one pita while rolling the next one out.)
6. To Bake Pitas in the Oven: While shaping the pitas, heat the oven to 450°. If you have a baking stone, put it in the oven to heat. If you don't have a baking stone, place a large baking sheet on the middle rack to heat.
Next, take the rolled-out pitas and place as many of them as will fit on the baking sheet or baking stone. After about a minute or two they should start to puff up until they balloon which means they're done. Use a clean dishtowel to cover the pitas while you cook the rest of the pitas.
If you're cooking the pitas on the stovetop, start by warming a cast-iron skillet over medium-high; you'll know it's hot enough when a few drops of water sizzle immediately upon contact. Pour a little bit of oil in the pan, wiping off any excess, and then take one of the rolled-out pitas and lay it on the skillet, baking it for about 30 seconds or until bubbles start to form. After this, flip it over and cook for between 1 and 2 minutes on the other side, or until it starts to toast. Flip again and cook another 1 to 2 minutes or until that side begins to toast. It should start to puff up, but if it doesn't, you can press on it with a clean towel.
And you're done! Serve immediately or place them in an airtight container, where they should keep for several days. When ready to eat, just stick them in a toaster oven or eat as is. You can also freeze them for up to three months.
Have you ever made pita bread? What did you think of this recipe? What are some of your favorite tips and tricks for making pita bread? Share your thoughts in the comment section below!
Article Source: The Kitchn


There are no comments at the moment, do you want to add one?
Write a comment